VPN Set-up Guide
This guide currently provides basic configuration information for Android, Windows, OSX and iOS. Other operating systems are also supported but not yet covered in this guide.Windows 10 Configuration:
Method #1 (recommended)1. Save the dyniNETVPN.ps1 set-up script.
2. Right click on the set-up script and click "Run with PowerShell", answer yes to any questions.
3. Follow the set-up script, enter your user name and password when prompted, leaving the domain field blank. Optionally you can choose to save your login information for quickly connecting later.
4. Select the set up script window once connected and hit Enter to finish set-up.
5. Reboot and connect to your new VPN!
Method #2
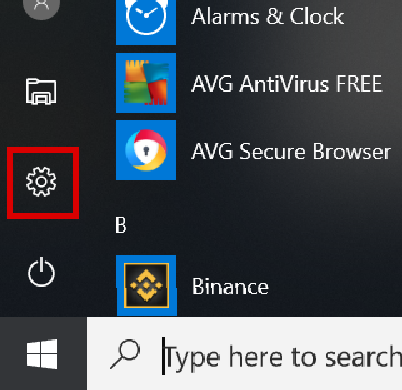
1. From your desktop screen, click on the Windows icon in the lower left and click on the settings icon, then click "Network & Internet".
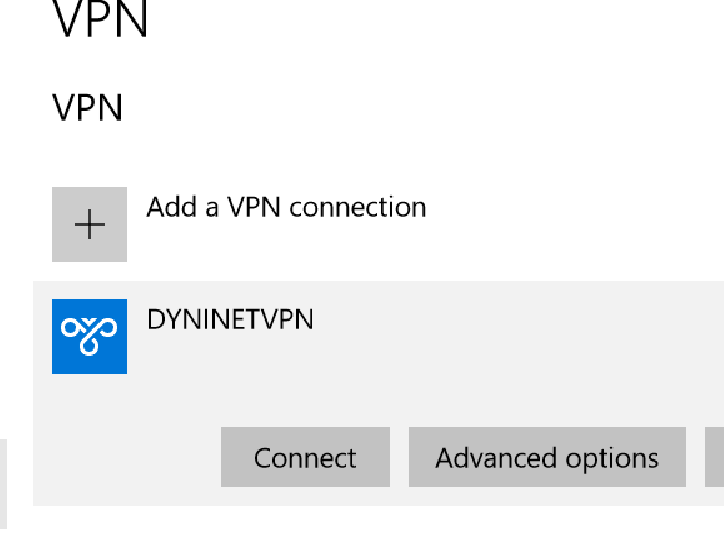
2. Navigate to VPN and click on Add A VPN Connection.

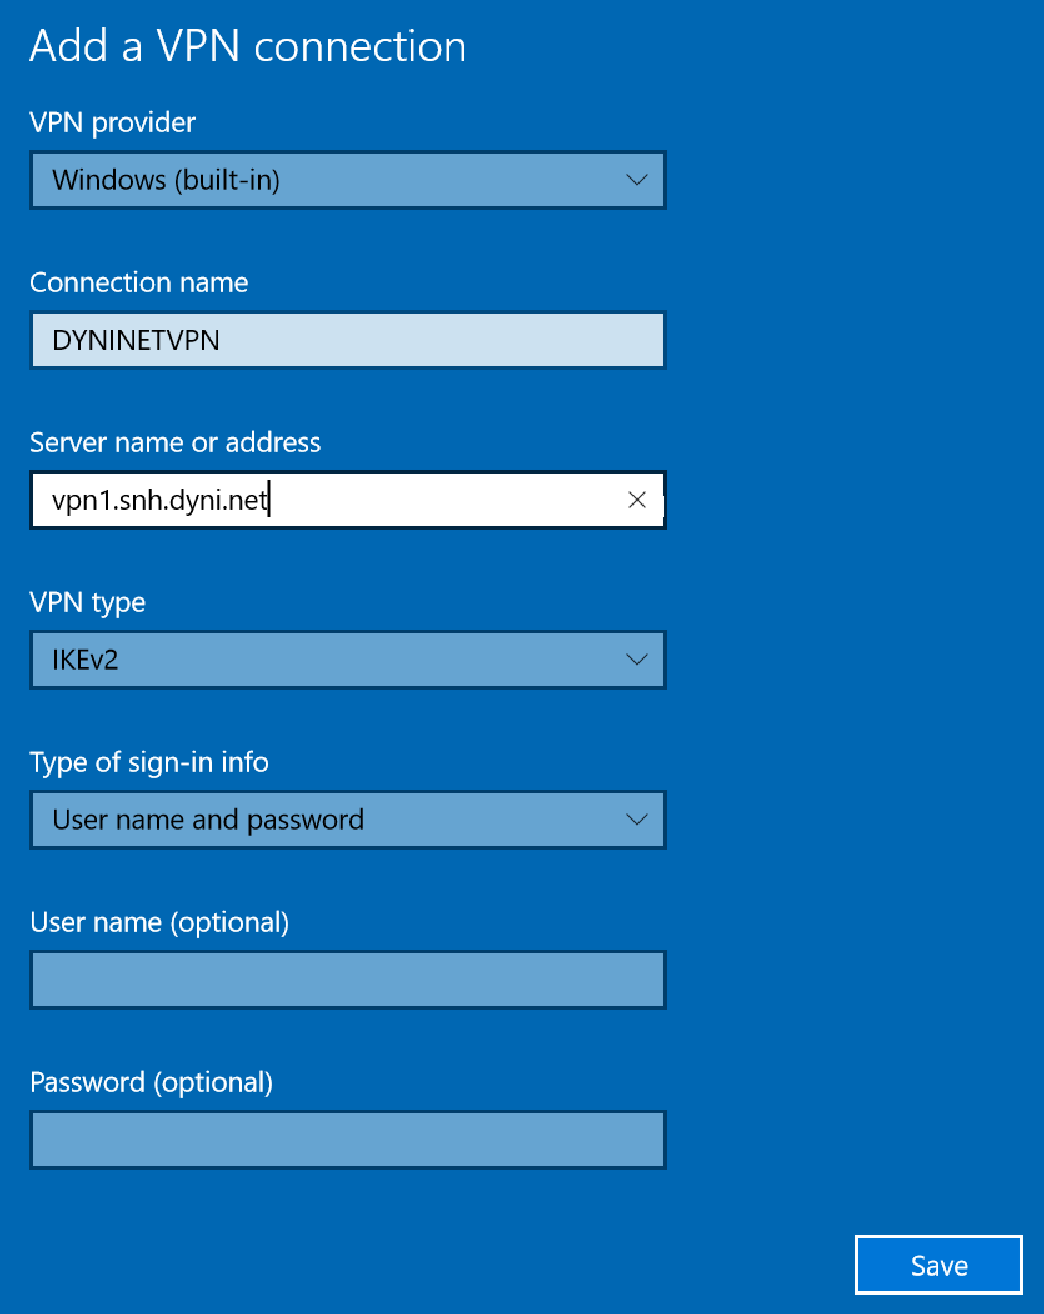
3. Select "Windows (built-in)" as your VPN provider.
Enter the connection name as DYNINETVPN
Enter the server address: vpn1.snh.dyni.net
Under VPN type, select "IKEv2"
Enter your VPN Username, e.g: dyniXXXXX
Enter your VPN password.
Click Save.
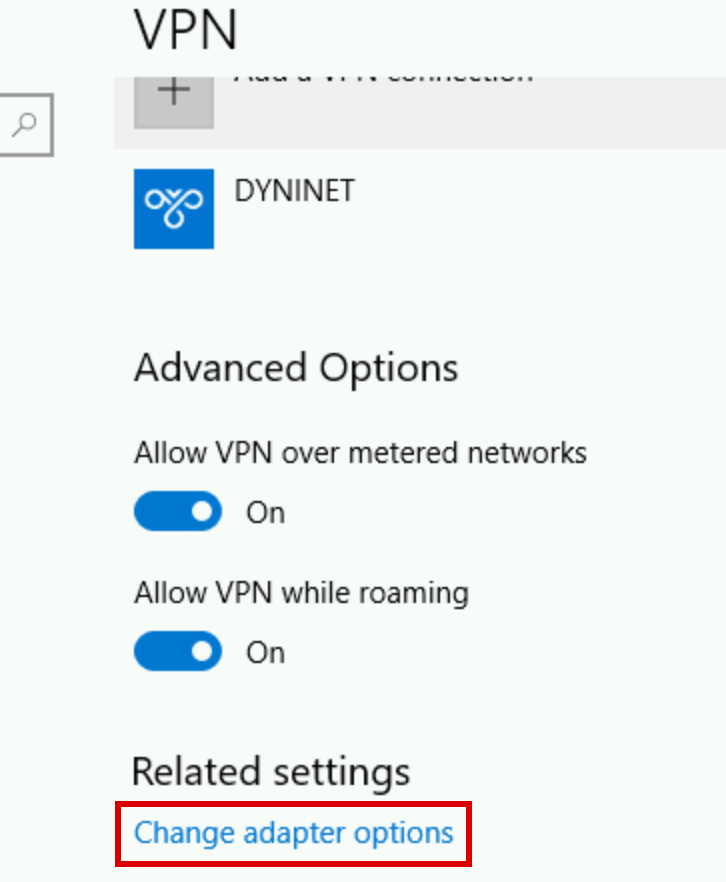
4. Click "Change adapter settings" under Related settings.
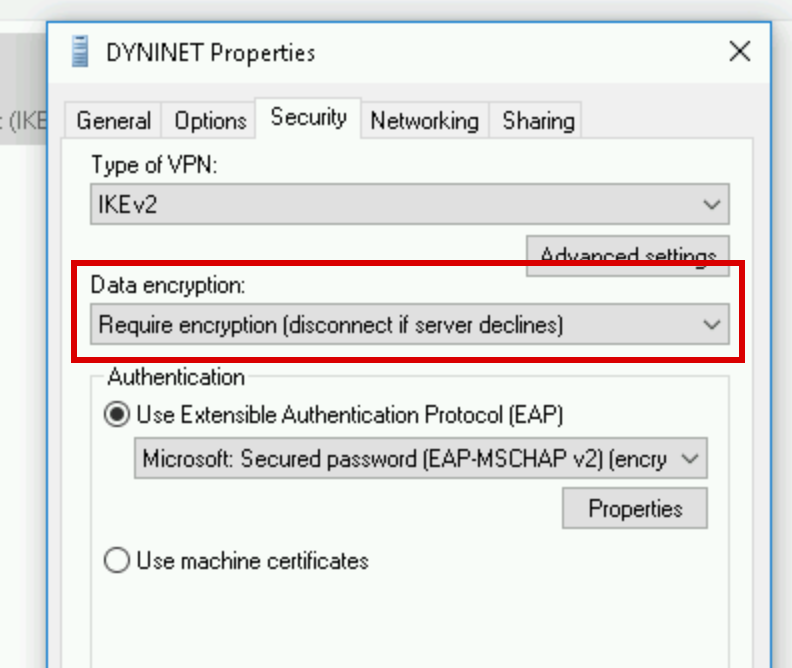
5. Right click on the DYNINETVPN connection and click Properties.

6. Click the security tab and under Data encryption select "Require encryption (disconnect if server declines)" and click OK.
7. Select the VPN account you just created and click "Connect".
DNS Leak Fix:
Windows DNS resolution methods can cause your usual DNS servers to be used instead of the secure servers assigned by the DYNINET VPN. In order to fix this you need to apply registry settings to your computer and reboot before connecting. This registry file is available here. Save the file to your desktop as leakfix.reg, click the file and answer yes to all dialogs to make the necessary changes, then reboot once you receive a message saying the keys were successfully added to the registry.
IPv6 Default Route:
Once connected to the VPN successfully, execute the following command under the command prompt to add a persistent IPv6 default route: netsh interface ipv6 add route ::/0 interface='DYNINETVPN'
Android Configuration:
Although it is possible on recent versions of Android to use the built in VPN support within the operating system, it is recommended that you download the strongSwan VPN app from the play store. It provides more configuration options and allows an easy "always on" configuration.1. Find and install the strongSwan vpn app from the play store.
2. Open the strongSwan app.
3. Press "Add VPN Profile" in the upper right of the app.
4. Manually add the following information:
Enter the server address: vpn1.snh.dyni.net
Enter your VPN Username, e.g: dyniXXXXX
Enter your VPN password.
5. Press "save" in the upper right.
6. Click on the newly created profile to connect to your new VPN!
Advanced Tweaks:
If you use Chromecast or have a network printer or other services on your local network and would like to use them without disconnecting from your VPN account, you will need to exclude your local network in the strongSwan app under "Show Advanced Settings". Simply click on show advanced settings under your VPN profile in the strongSwan app, scroll down to "Excluded Subnets" and enter the subnet of your local LAN IP block. If you are unsure you can try entering 192.168.0.0/16 and/or 10.0.0.0/8.
OSX Configuration:
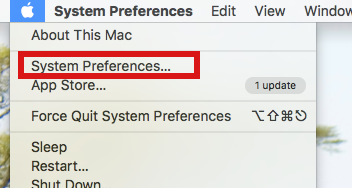
Follow these simple steps to configure IKEv2 manually on your OSX device:1. Click on the Apple logo in the upper left of the screen and click "system preferences".
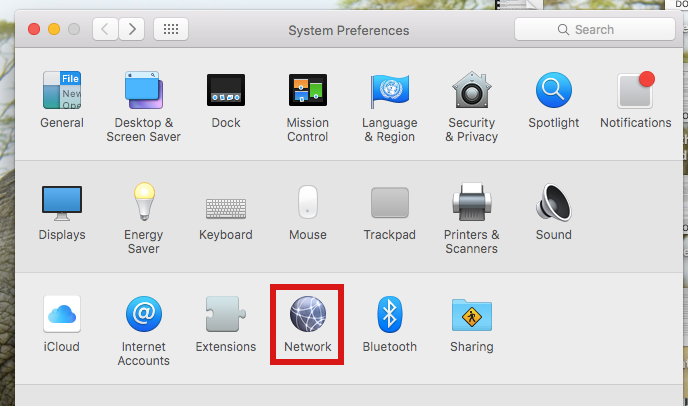
2. Click the "Network" icon.
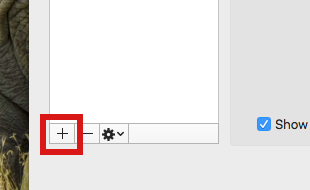
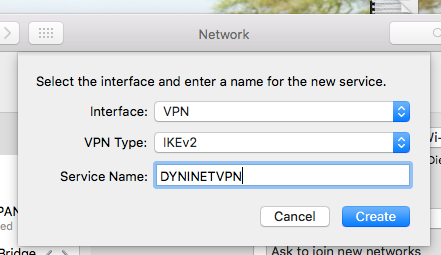
3. Click on the plus "+" sign to add a new account.
4. Select "VPN" as the interface, IKEv2 as the type and name it "DYNINETVPN".
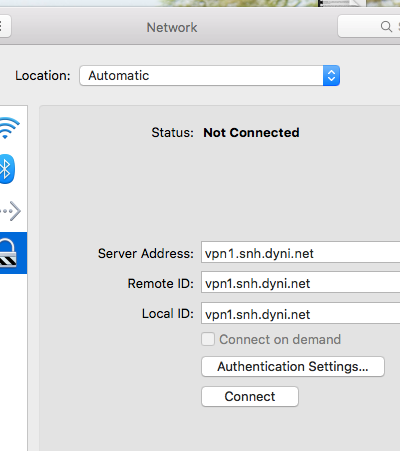
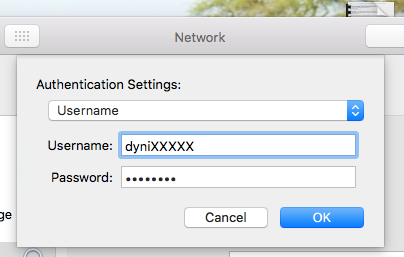
5. Fill in the server address, remote and local id as vpn1.snh.dyni.net then click on "authentication settings".
6. Enter your dyninet vpn username and password and click OK.
You are now ready to connect to the VPN, click "Connect". The VPN connection can also be controlled from the status bar.
iOS Configuration:
Things to Consider:Before you begin, please make sure that you have:
An iOS device with iOS 9 and above version installed (iPad, iPhone etc.)
A dyni.net VPN account
Follow these simple steps to configure IKEv2 manually on your iOS device:
1. Go to your home screen and tap on “Settings”
2. Tap “VPN”
3. Tap “Add VPN Configuration…”
4. Manually add the following information:
Enter “DYNINETVPN“ in the description field.
Enter the server address: vpn1.snh.dyni.net
Enter your VPN Username, e.g: dyniXXXXX
Enter your VPN password.
Important Note: Please always remember your DYNINET username & password is different from your Website Member Area email address & Password.
5. Tap the status button to establish a VPN connection.
6. Upon successful connection, a status will be displayed in the menu bar. Also, you can manage your VPN connection through the network settings option.